
Taskify Basic Configuration
After successfully installing Taskify, it’s important to perform basic configuration to get your system ready for use. This ensures that your workspace, projects, tasks, users, and notifications work correctly from day one.
1. Login as Admin
Open your Taskify URL in a browser:
http://your-taskify.inUse the admin credentials you set during installation.
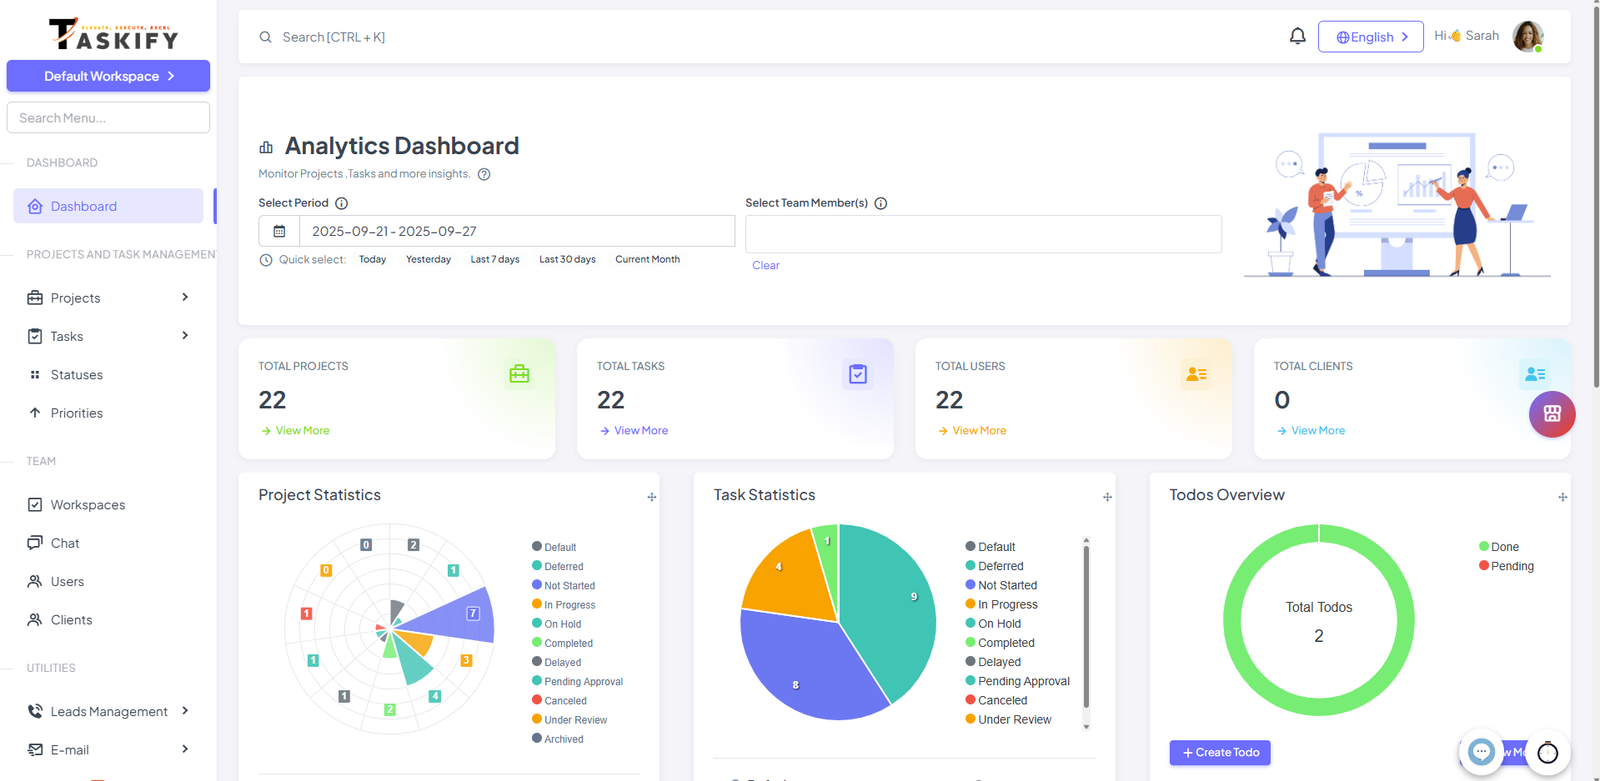
Once logged in, you will see the Taskify dashboard, which provides an overview of projects, tasks, team members, and productivity metrics.
2. Configure Company / Workspace Details
Navigate to Settings → Company Profile:
Company Name: Enter your organization or team name.
Logo: Upload your company logo to personalize Taskify.
Time zone & Date Format: Set the time zone and preferred date/time format for your team.
Currency: Set currency symbol as per your location or preferences

Navigate to Workspaces :
Create a new Workspace for your company.
Add Users and Clients as per your company in this workspace.
Make it Primary or Default as per your requirements.
3. Assign Roles and Permissions
Go to Settings -> Permissions
Check Roles and Its Permisssions.
Assign roles and permissions (Admin, Manager, Team Member) using Taskify’s role management system.

4. Configure Projects and Tasks
Projects:
Navigate to Projects → Add Project.
Enter project details: name, description, client, start date, and end date.
Assign team members to the project.
Tasks:
Navigate to Tasks → Add Tasks.
Enter tasks details such as title, projects, and start date / end date.
Assign tasks to team members.
5. Set Up Statuses / Priorities
Go to Statuses→ Add statuses that reflect your workflow.
Go to Priorities → Add priority that reflect your workflow.
6. Configure Notifications
Go to Settings → Notification Templates.
Enable or disable notifications for events such as project creation, task assignment, or leave approvals.
For email notifications, ensure your mail settings in
Email Settingsare correctly configured.
7. Optional Integrations
Taskify supports integrations to improve workflow:
Slack: Send task or project notifications to team channels.
WhatsApp: Send WhatsApp Message as a Notifications.
SMS Gateway: Send SMS Notifications also to the users
Navigate to Settings -> Messaging & Integrations to see the integrations and its steps to integrate
8. Test the Configuration
Before starting actual work:
Create a sample project and assign tasks to a user.
Verify that notifications, task status changes, and project timelines are functioning.
Ensure users can log in, view their assigned tasks, and update progress.