
🔄 Auto Updater in Taskify
The Auto Updater in Taskify allows you to upgrade your system easily by uploading the provided update patch file. Each release on Codecanyon includes update files that let you move from your current version to the latest version without reinstalling Taskify from scratch.
📦 Where to Find Update Files
When you download the latest Taskify release from Codecanyon, you will find:
Main Files – Full source code.
Updates Folder – Contains update patches like:
update from v1.1.0-to-v1.1.1.zipupdate from v1.1.1-to-v1.1.2.zip
👉 Each patch is designed for a specific version upgrade. If you are multiple versions behind, you must apply the patches step by step in sequence.
🔑 How to Update Taskify
Download the Latest Package
Log in to your Codecanyon account.
Download the latest Taskify package.
Locate the Updates Folder inside the package.
Upload Update File
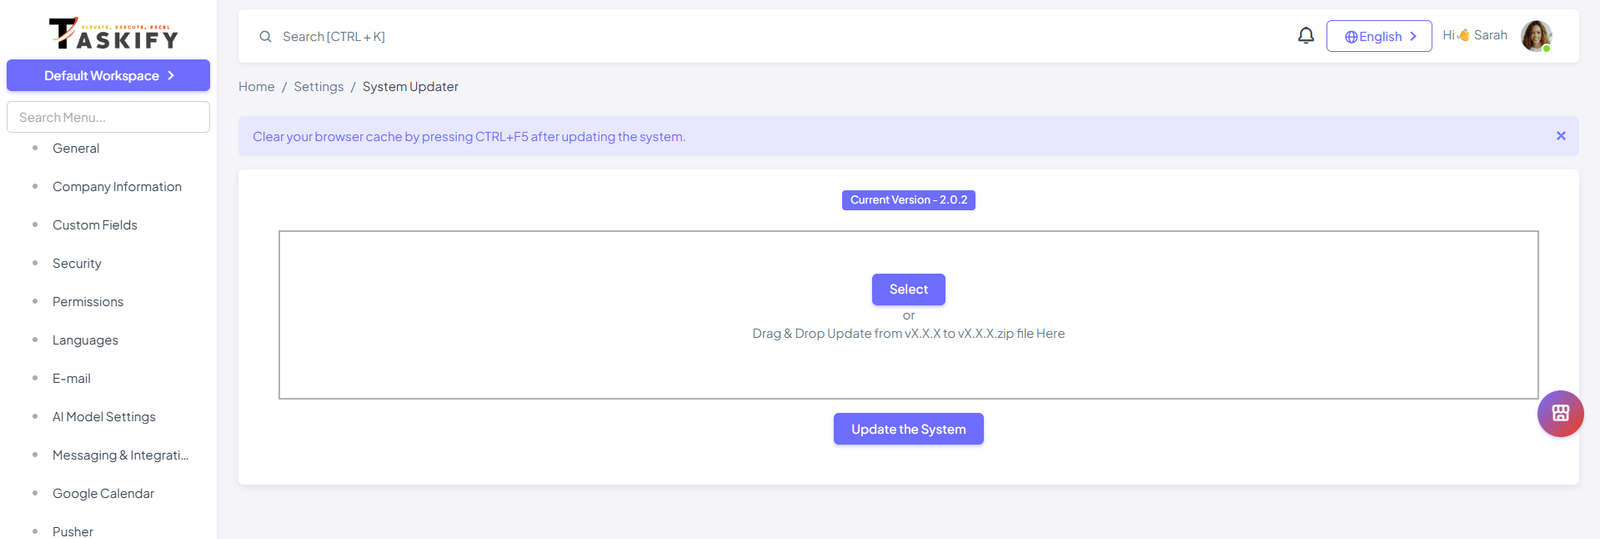
Go to Taskify Admin Panel → Settings → System Updater.
Upload the correct update patch file (e.g.,
update-v1.1.0-to-v1.1.1.zip).
Run the Update
Taskify will automatically apply the update, including:
File changes.
Database migrations.
Cache refresh.
Clear Browser Cache
After the update completes, press Ctrl + F5 (Windows) or Cmd + Shift + R (Mac) to refresh your browser cache.
Clear System Cache
This ensures all updated files and configurations load correctly.
📌 Important Notes
Backup First: Always back up your files and database before updating.
Sequential Updates: Apply updates in order (e.g., v1.1.0 → v1.1.1 → v1.1.2).
Permissions: Make sure
storage/andbootstrap/cache/directories are writable.Do Not Refresh During Update: Wait until the updater confirms success.
🚨 Example Update
If you are on v1.1.0 and the latest release is v1.1.2:
Upload
update-v1.1.0-to-v1.1.1.zipin the System Updater.Clear cache (browser + system).
Upload
update-v1.1.1-to-v1.1.2.zip.Clear cache again.
✅ Once complete, your Taskify installation will be upgraded to the latest version with new features and improvements.