
📧 Email Settings in Taskify
The Email Settings section in Taskify allows administrators to configure how the system sends emails, including notifications, password resets, and updates. A properly configured email setup ensures reliable communication with team members and clients.
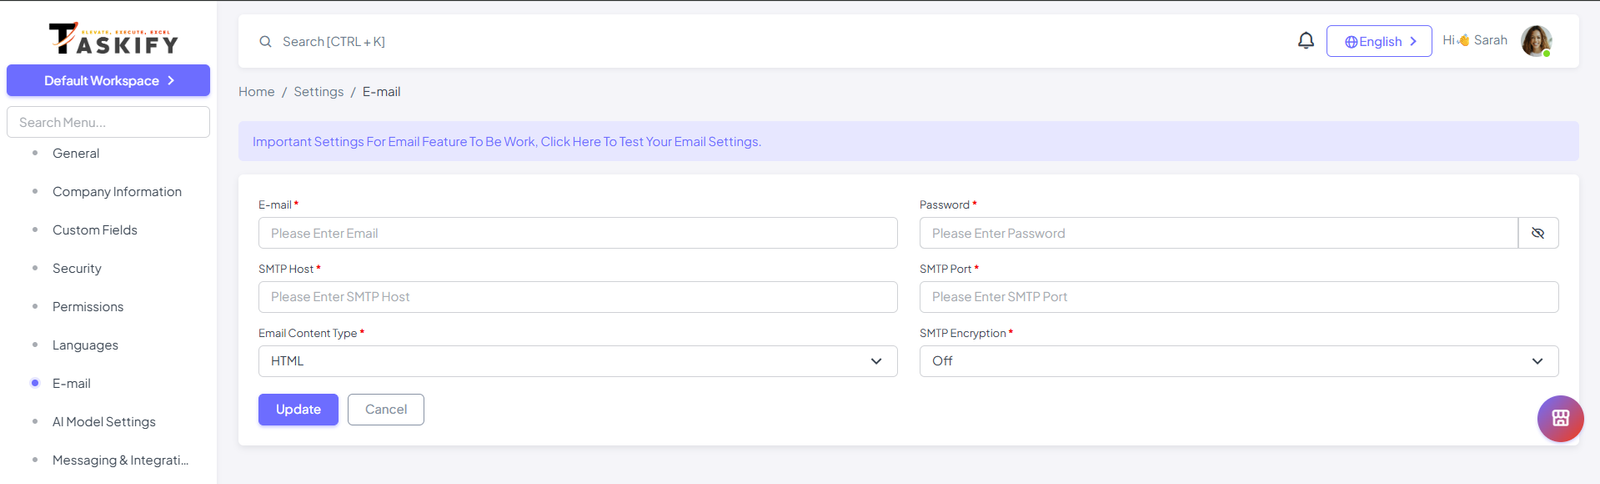
🔑 Accessing Email Settings
Log in to Taskify with an Admin account.
Navigate to Settings → Email Settings from the sidebar menu.
You’ll see fields for configuring your mail driver and SMTP details.
⚙️ Configuration Options
1. Mail Driver
Choose the mail driver that Taskify will use to send emails.
Supported drivers:
SMTP (recommended)
Sendmail
Log (for local testing)
2. SMTP Configuration
If you select SMTP as the driver, you’ll need to provide:
Mail Host → e.g.,
smtp.gmail.comMail Port → Common values:
465(SSL) or587(TLS)Encryption →
sslortlsUsername → Your SMTP username (often your email)
Password → The SMTP password or App Password (for Gmail/Outlook, etc.)
3. Test Email
Once you save your configuration, send a Test Email to verify everything is working.
If the email fails, double-check your SMTP credentials and ensure the server allows external SMTP connections.
📝 Example Setup (Gmail SMTP)
Mail Driver: smtp
Mail Host: smtp.gmail.com
Mail Port: 587
Encryption: tls
Username: your-email@gmail.com
Password: your-app-password
⚠️ Note: If using Gmail, you must enable App Passwords and 2FA on your account.
📌 Best Practices
Use a dedicated email account for Taskify notifications.
Avoid free SMTP services for production; instead, use providers like:
Amazon SES
SendGrid
Mailgun
Always send a test email after changing settings.
For local testing, you can use the Log driver to write emails to log files.
✅ Once configured, Taskify will send reliable email notifications for all system events, including user invitations, password resets, and task updates.