
🔐 Permissions Settings in Taskify
The Permissions Settings in Taskify allow administrators to control what users can do within the system. By assigning roles and managing permissions, you can ensure that team members only have access to the features they need.
🔑 Accessing Permissions Settings
Log in to Taskify with an Admin account.
From the sidebar menu, navigate to: Settings → Permissions.
You will see a list of all available roles and their associated permissions.
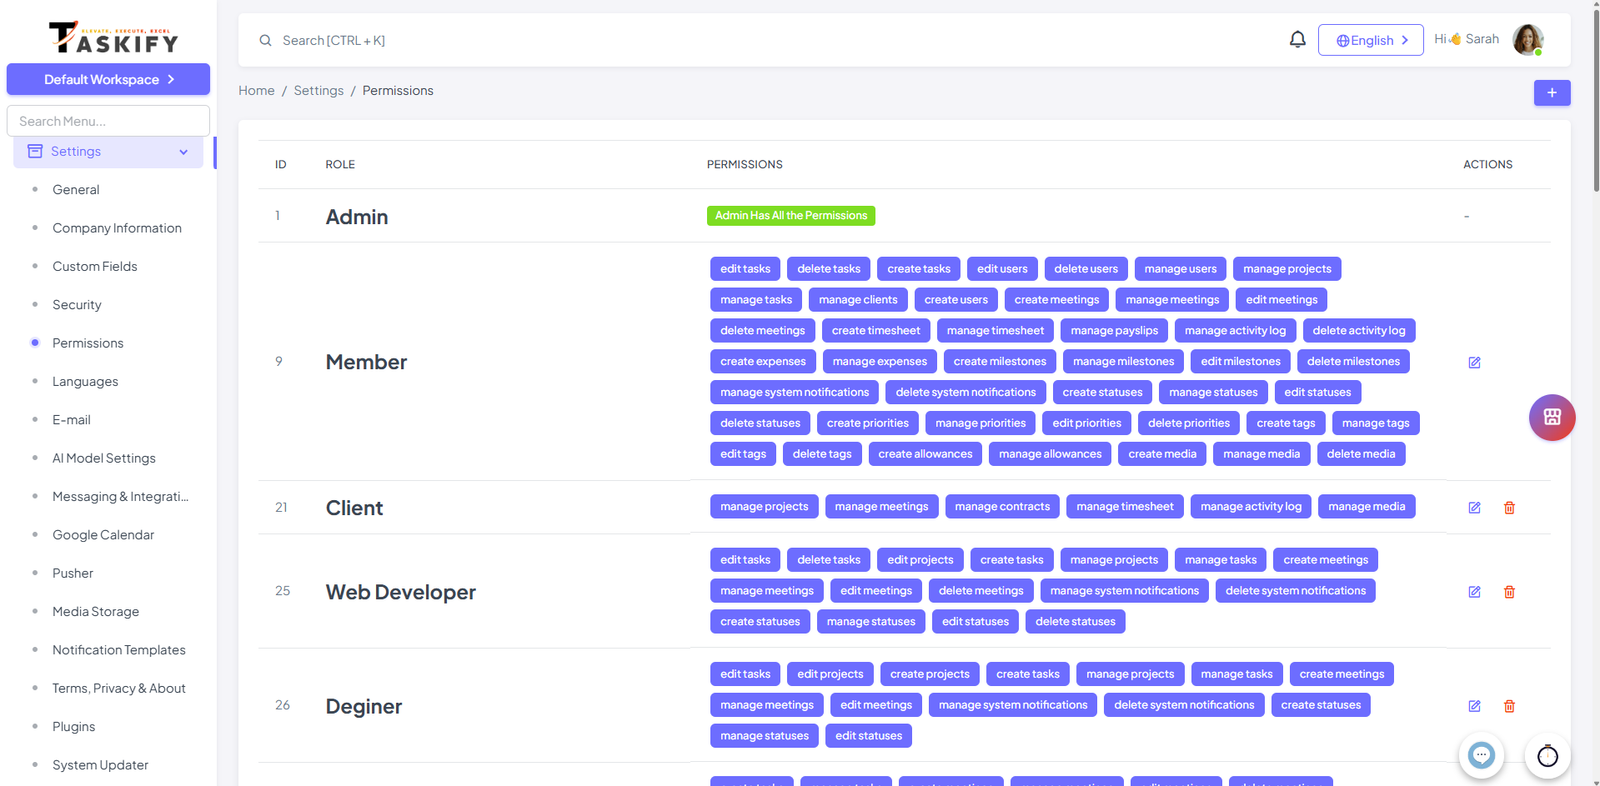
🗂 Key Components
1. Roles
Roles define a set of permissions grouped together.
Common roles include:
Admin → Full access to all features and settings.
Project Manager → Can manage projects, tasks, and team members.
Team Member → Can access assigned projects/tasks and submit updates.
Client → Can view assigned projects, tasks, and progress updates.
2. Permissions
Permissions control access to specific features or actions in Taskify.
Examples:
Create/Edit/Delete Projects
Assign Tasks
Manage Users
Approve Leaves
View Reports
You can enable or disable permissions for each role based on organizational needs.
3. Assigning Roles to Users
Navigate to Users from the sidebar.
Select the user you want to update.
Assign them a role (e.g., Admin, Project Manager, Team Member, Client).
The user will automatically inherit the permissions of that role.
📌 Best Practices
Assign minimum required permissions to avoid unnecessary access.
Use Admin role only for trusted users managing system-wide settings.
Regularly review permissions when new features are added to Taskify.
For external clients, use the Client role with limited project/task visibility.
🚨 Example Use Case
A Team Member should not be able to delete projects.
A Project Manager should manage tasks and team allocation but not change system settings.
An Admin can manage everything, including users, permissions, and settings.
✅ With Permissions Settings configured, Taskify ensures secure and role-based access control, helping your organization maintain accountability and proper data access.